Sunday, March 31, 2013

Happy Easter

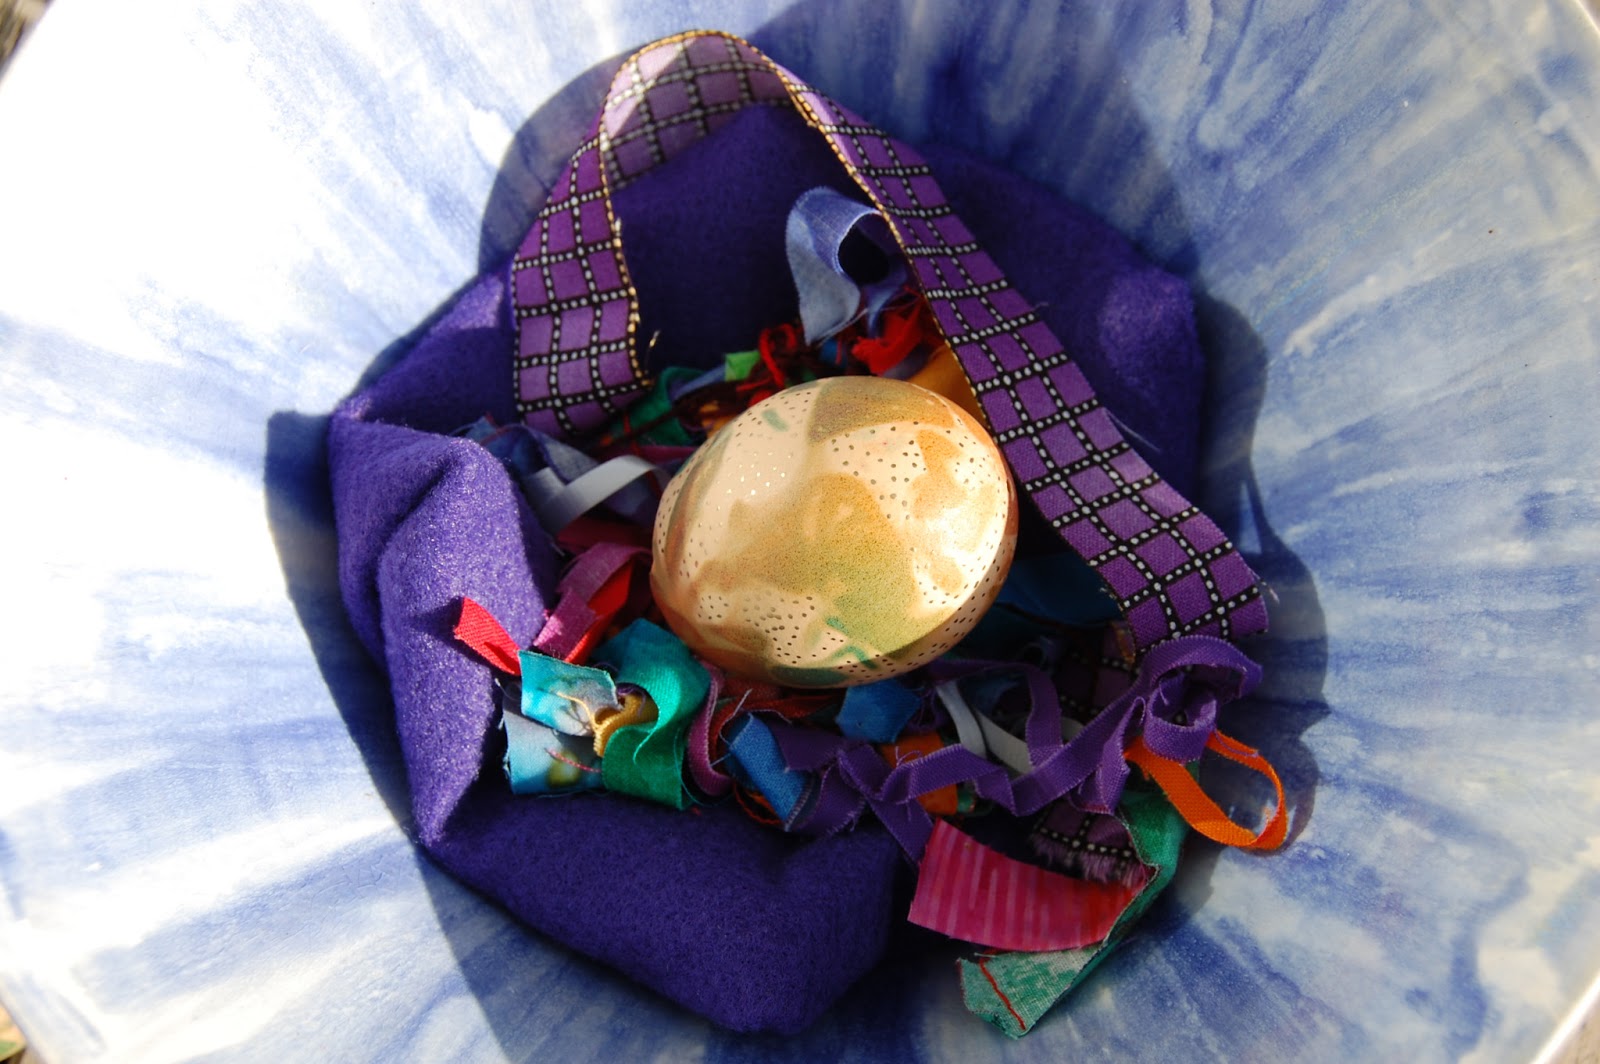
Brown eggs, hand painted by me.

and now another one

and then another one.  Click to see a close up.
1, 2, 3 look what the Easter Bunny left me 
and in a nest of fabric scraps!  
Thanks Easter Bunny.
Seriously though, Easter is a time of re-birth, the day Jesus is resurrected from the dead as promised by God the Father.
Happy Easter Everyone!

Saturday, March 30, 2013

Better Pictures ... maybe

quilt front
Quilt front

showing a section of the back
close up of half square triangle strip
mitered corner binding

   These pictures show a more accurate representation of the colors of the fabrics used in this serendipitous lap quilt. (See previous post and you will see what I mean.) I love the "bird footprints" on the blue and the little dots of color on the other blue fabric.  I just kind of threw them together with out thinking and they worked.  The red pieces are there because I need extra length and the half square triangles were to match the front of the quilt that this piece was originally made for.  That particular quilt is just waiting to have a binding sewn on.  Then I will show it on this blog.  The quilting was done on the idea of the lines that form the square pattern of the binding and matching fabric in the body of the quilt.  Hope you like it.

Sunday, March 17, 2013

The Unexpected Quilt


  The original quilt that I was working on has a half square triangle center bordered by a white back ground and an inch wide secondary border with yet a third wider border in white.  Right now I am in the middle of quilting it... and unfortunately rippng out  stitches, first in the beginning at each corner (mostly just because I did not like the design of the quilting) and then in the center where all of the half square triangles are, again the stitching design isn't what I am looking for.  So I am going a little bug eyed looking at all those stitches!  When that one is finally finished I will post a couple of pic's of it - if I can still see when it is done, lol.

 I know with all the blogs out there and the busy lives we all are living these days our time is valuable I just wan to say thanks to all of you who stop by and visit my blog,

Sunday, February 10, 2013

Neighborhood Pictures - WS Nemo


Evening blue

Ginkgo tree

Our cars are under there!

Budlong pool

Up the snowy hill

I loved how this snow covered tree looked

When I awoke and looked out the window I couldn't see a thing ... this is why - all of our windows were blanketed with a layer of wind blown snow.  It almost looks as if the house was sprayed with water that froze.

My rhododendron outside my front window.  I had to look down to take this picture.  In the spring when it blooms it is halfway up the window, now it is nearly laying on the ground with all the weight of the snow on it.

...and today is bright and sunny, clear blue skies and freezing cold.  Good day for a walk!

Thursday, February 7, 2013

Smaller UFO Pile

  Smaller UFO pile?  Is that possible?  Isn't a pile sort of a large thing usually? 
 Anyhow, with the completion of two more quilts my UFO pile has been made a tad smaller. Finally finished is a quilt that I started more than twenty years ago...yes I said twenty.  (My face is red from embarrassment.) It was an anniversary quilt that was under construction for my tenth anniversary - another twenty four years have passed and we will be celebrating 34 years married.  But alas it is completed, maybe a party is in order, lol.  No pictures yet, sorry, as the last stitches were guided through the binding just moments ago.  The fabrics have a batik feel to them, you may recognize some of them in fact.  I'm not sure who the manufacturer of them is.  The colors are pretty blues, teals and greens.  I kept the pieces large and sewed them together using a closely stitched edging stitch of turquoise blue.  The biding is a green monotone stripe with a much smaller gold stripe in it.  Right now it is in the dryer getting a fluff after being washed in the machine.  I like to wash my quilts to make sure that they can withstand being used, after all that is the point.  Why have things if you aren't going to used them or show them off some way?  Washing and drying gives a nice soft texture and feel.  If the snow falls nicely I will try to take some pictures of the two quilts with the snow as a back ground on Saturday.
  The other quilt is the one pictured in the previous post only the biding was not turned on it in that picture.  The binding on that one is a purple and white stripe and goes along quite nicely with the pink, red, and darker pink gingham check fabric.  Now it is and it is tumbling around with the anniversary quilt.  So I hope to have a better picture of it also on Saturday
 In the meantime enjoy this picture from our visit to Nashville last August.  This is a view of the man-made waterfall at the Gaylord Hotel and Resort.  Can't you just picture this as a small quiltwork?
 
  
Now onto the next item in the UFO pile. . . wish me luck!


Monday, January 28, 2013

Sewing Seminar - One Day Extension!

  A one day extension is gift to myself!  I have been sewing up a storm.  There were a couple of unexpected delays over the weekend, but they were overcome and I was able to head right to the sewing machine.  I did accomplish my goal of finishing two quilts, now they need to be bound.  That will be the goal of the weekdays and both bindings should be sewn on after work each day.  It's a very gloomy day outside so here is my attempt at taking some photos of my progress posted below.  This was the best one.  The back of this quilt is a cute little pig print pieced with a strip of yellow suns print.  The binding is a striped purple and white.  The front is a purchased pieced cotton fabric.  


 The selvage sections have taken a turn to another direction and I like this advance much better than the original plan.  I am excited to complete this and can't wait to show you all. 

Friday, January 25, 2013

Sewing Seminar!

  So this weekend, starting tomorrow morning, is my own sewing seminar!  I will be taking out a couple of quilt tops that are in my UFO pile to finally complete.  They are feeling a bit neglected and this will make each of them feel a bit better.  I am going to attempt to complete two - that is a reasonable goal.
  Also I need to get the camera out and take some pictures to post to fulfill my promise of showing the  finished selvage project from a couple of weeks ago. 
  All I have thought about this week is getting to my machine, anticipating the weekend to have free time to sew.  The projects are all in my head and now they need to escape as it is getting crowed in there!
   In the meantime here is pic of a piece of silk that I dyed a couple of years ago.  Using the fold and clamp method this is the result.  I like how it looks like windows in a building.  Hope you like it.  Have a great day!
The Silk City  Building
 

Tuesday, January 8, 2013

What do you do with selvage edges?


Selvage edges sewn together in long rows.
Even tiny pieces can become the start of something big!  The pieces in the middle were just large enough and colorful enough the use - I just couldn't send them to the rubbish bin.
Of course sometimes you need to cut the selvage wide enough to be able to sew it together - I was a little bit more generous with these edges because of the original project that they came from.
Here again are some tiny central pieces that were the beginning of this block.  As you can see I sewed these all together just going in circles, so to speak, until I was satisfied with the size of the block.
  So you have a bunch of selvage edges just laying around, just what do you do with them?  Why you sew them together to make a great piece of fabric.  Then you make the fabric into something useful or fun or perhaps something to hang as a piece of interesting wall art.  Sometimes you can even use it as a sew in non-stretch stabilizer on clothing items in seams that you don't want to stretch.  What ever you do with your stash of selvages they can be interesting challenges to find ways to use.  I myself am making runners for my table and maybe some hot-pads.  The pictures above show everything in progress.  This is a project that you can do a little bit here and there.  Before you know it you have a big piece of fabric that you might have otherwise tossed into the waste bin.  It will add color and visual texture to what ever you apply it to.  Check back to see what the finished product will look like, hopefully this weekend!

LinkWithin

Related Posts Plugin for WordPress, Blogger...